So You Want To Build a Keyboard
Does this sound interesting?
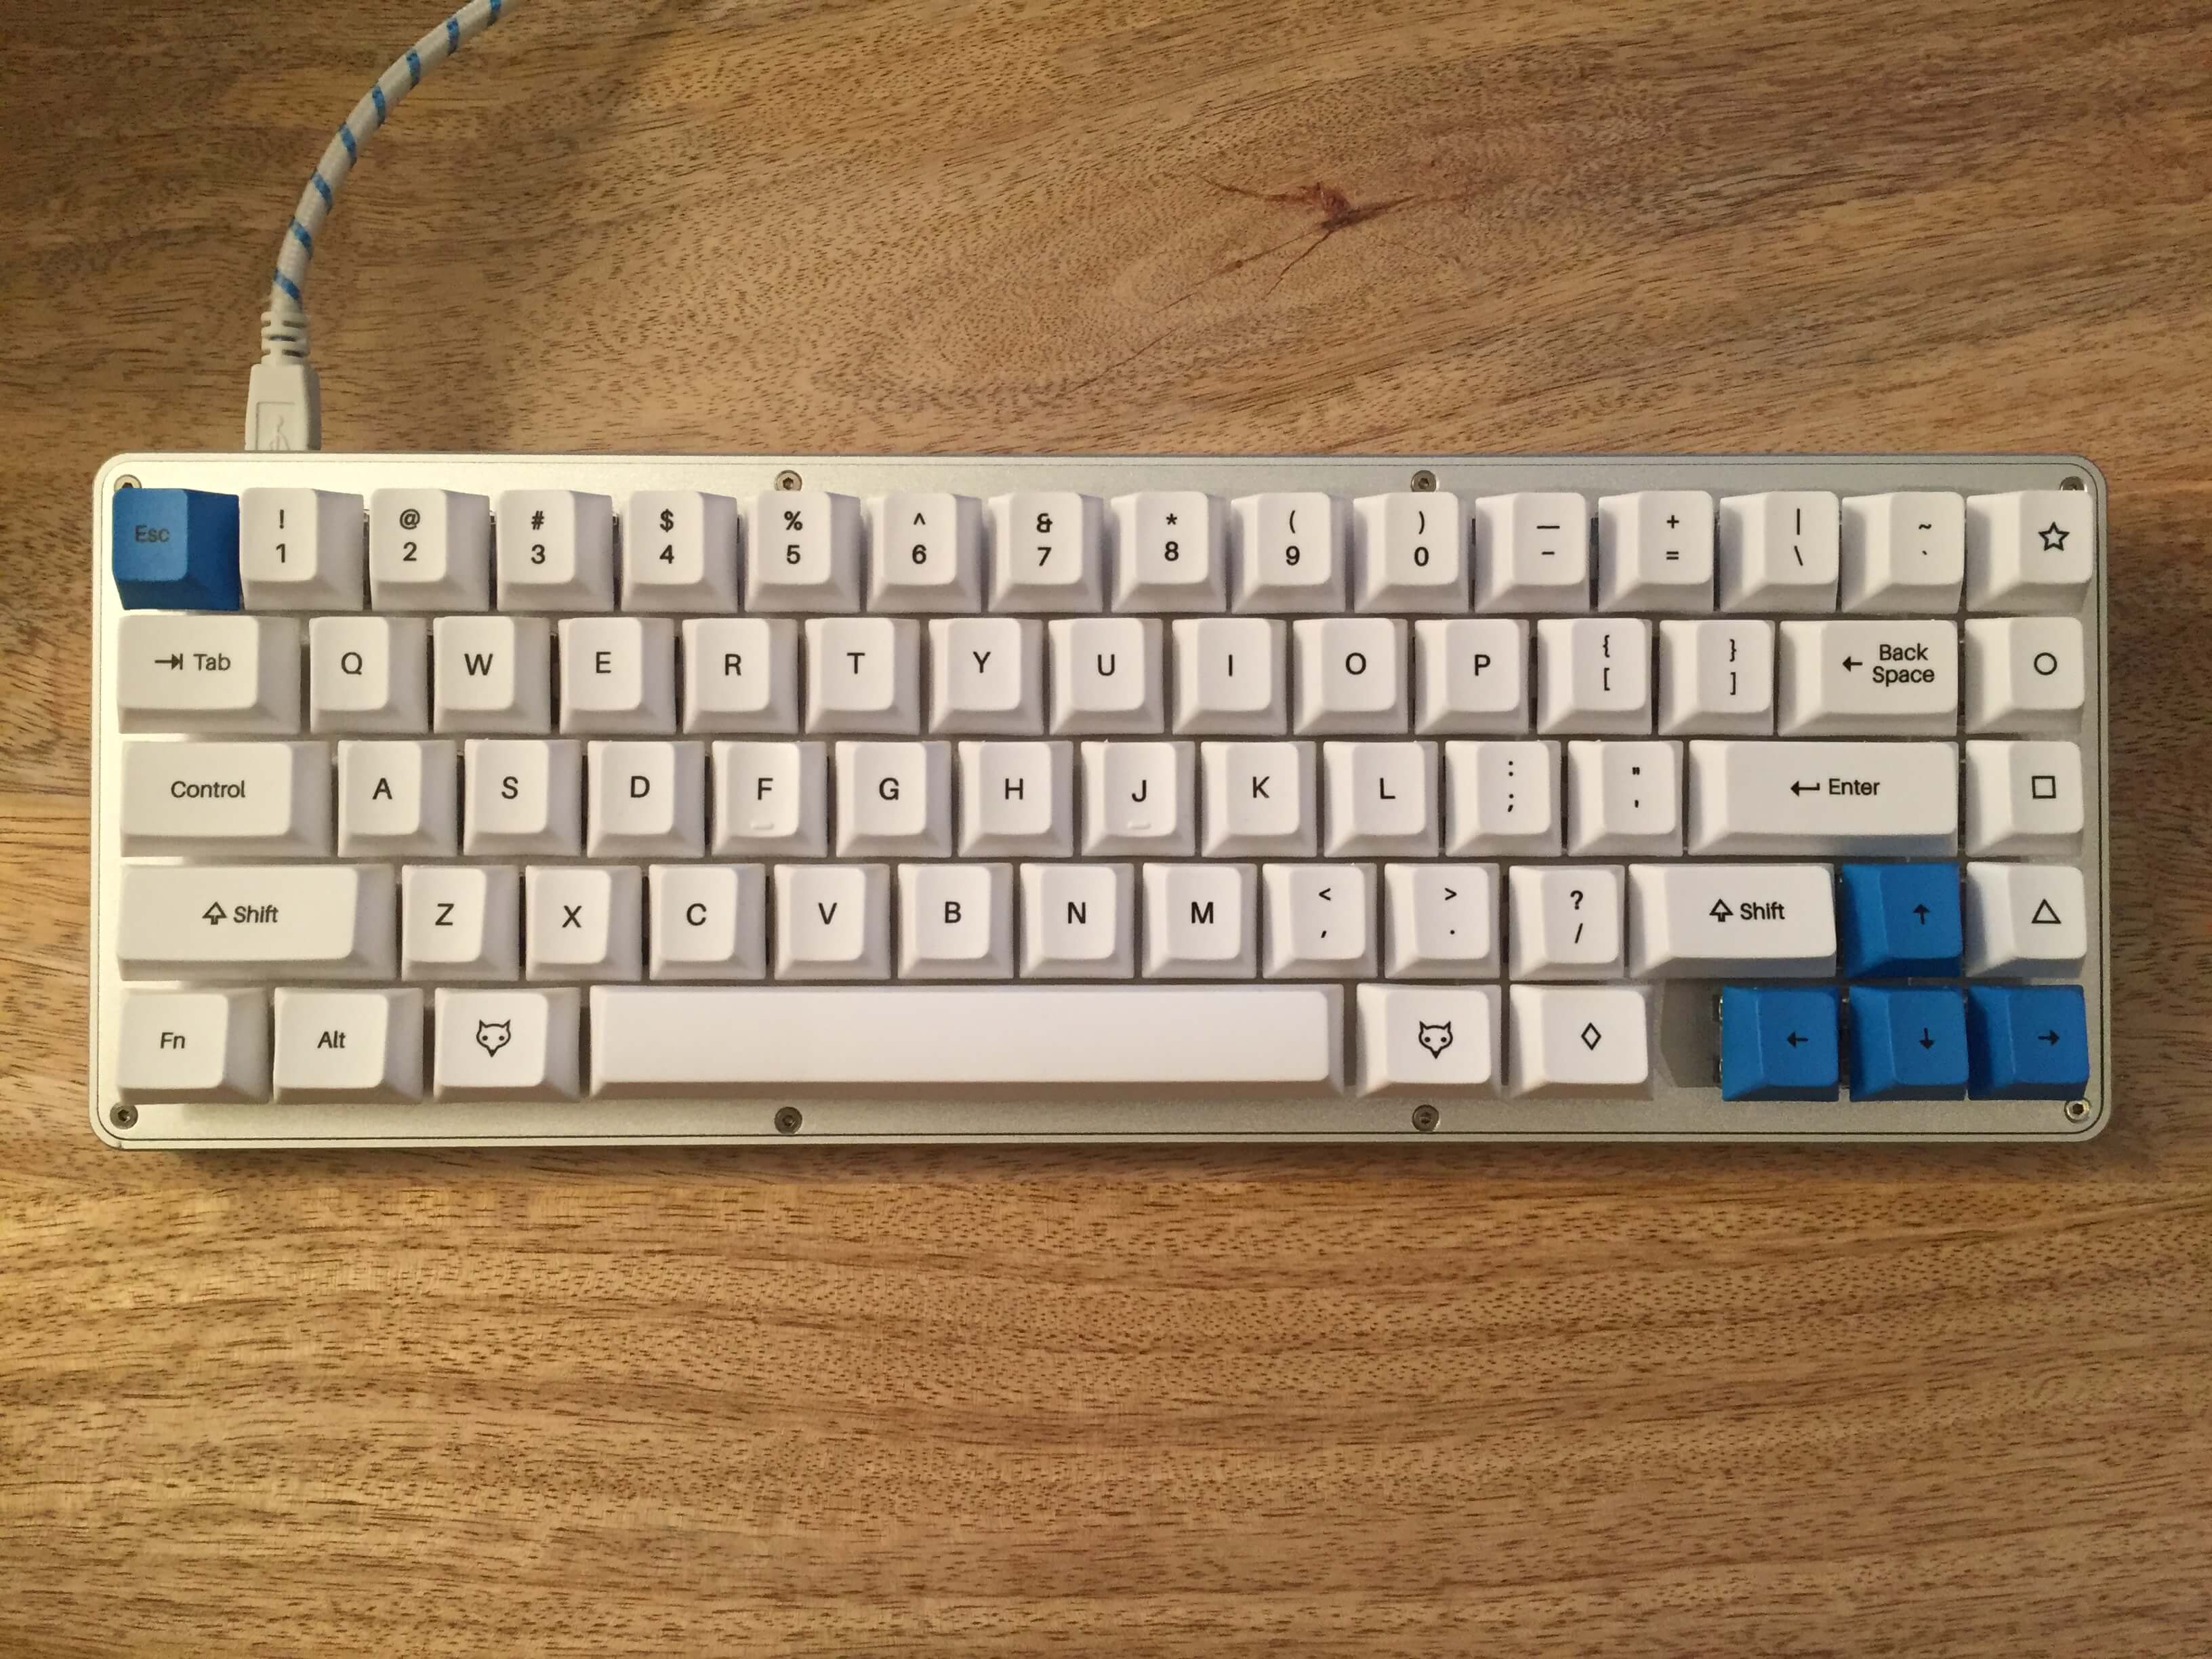
We're HiringMy journey begins with me already owning two keyboards, one for work and one for home. I was by all means already pushing the boundaries of minimalism. But then I saw The WhiteFox and I knew I simply had to have it in my life. And the only way I could justify getting a third keyboard (and get the exotic switches I wanted) was if I built it myself.
If the above paragraph was complete jibberish to you, please read this short description on what mechanical keyboards are. Now that we’re on the same page, here’s how I went from zero to keyboard and how you can too.
What you need
- Soldering Iron
- Soldering Iron Stand
- Solder
- Keyboard Kit (case, PCB, switches, keycaps, stabilizers, USB cord)
- Practice Soldering Kit (optional)
The soldering iron that is consistently recommended is the Hakko FX888D. But if you don’t want to drop $100+ on an iron, you can go with a cheaper alternative which is what I did and it worked perfectly (shout out to Sharethrough engineers for the recommendation).
If you purchase a soldering iron that either does not come with a stand or comes with a really cheap one, I highly suggest getting a soldering iron stand. The iron is really hot once it gets going and you will want to put it down to re-adjust whatever it is you’re soldering, so you want to make sure you don’t accidentally burn yourself or your furniture. In addition to the stand itself, the sponge that comes with it is also necessary for wiping away any extra solder from your iron.
You’re going to want some solder as well, the suggested solder for The WhiteFox build was 0.8mm (or 0.031") 60/40 so I went with this one. I imagine this will work for most PCB soldering.
Most importantly, you’re going to want a keyboard kit which should include a case, PCB, switches, keycaps, stabilizers, and a USB cord. They tend to come in small, limited runs so you’ll have to wait to see when the next one drops. Here is a small list of some popular kits:
Optionally, if you are like me and don’t want to have your very expensive keyboard kit be the first thing you ever solder, you can purchase a small practice soldering kit to try things out on. Adafruit has a nice selection of kits to pick from.
Trial runs (Solder:Time)
Once I had collected all the necessary tools and items it was time to start on my first soldering project - Solder:Time.
This actually ended up being a total disaster so I’m glad I didn’t go straight to the keyboard.
Things I learned:
“Tinning” your soldering iron before first use
This is basically melting some solder onto your iron’s tip as it heats up for the first time to protect the tip from oxidation. Here’s a good video on the process:
How to solder correctly
Soldering is definitely one of those things you have to do hands-on to learn. The big issue for me was that I was incorrectly melting the solder and “dripping” it onto the board, thus resulting in the solder not properly melting on the joint, this is commonly known as a “cold joint”. What I should’ve been doing was touching the iron to the board to heat up the surface then applying the solder, like this:
Another issue I had was that I was putting on too much solder, this diagram shows how much you should end up with on your board:

Desoldering is hard
At least with the bare-minimum tools I had, it was almost impossible to “undo” a joint once it was done. So before soldering in a joint, double check everything is lined up correctly before commiting.
Wire cutters are your friend
If you get a kit that requires trimming leads, I suggest getting a wire cutter, it will make your life a whole lot easier.
So, things didn’t really work out as planned for my first soldering project. The LED lights turned on when I pressed the button but the time was perptually stuck at 12:00 and on top of that I had to tape the case together because I had accidentally soldered one of the chips too high off the board. But I came out of it a better engineer and decided to take everything I learned and give it one more shot.
The second time was the charm! 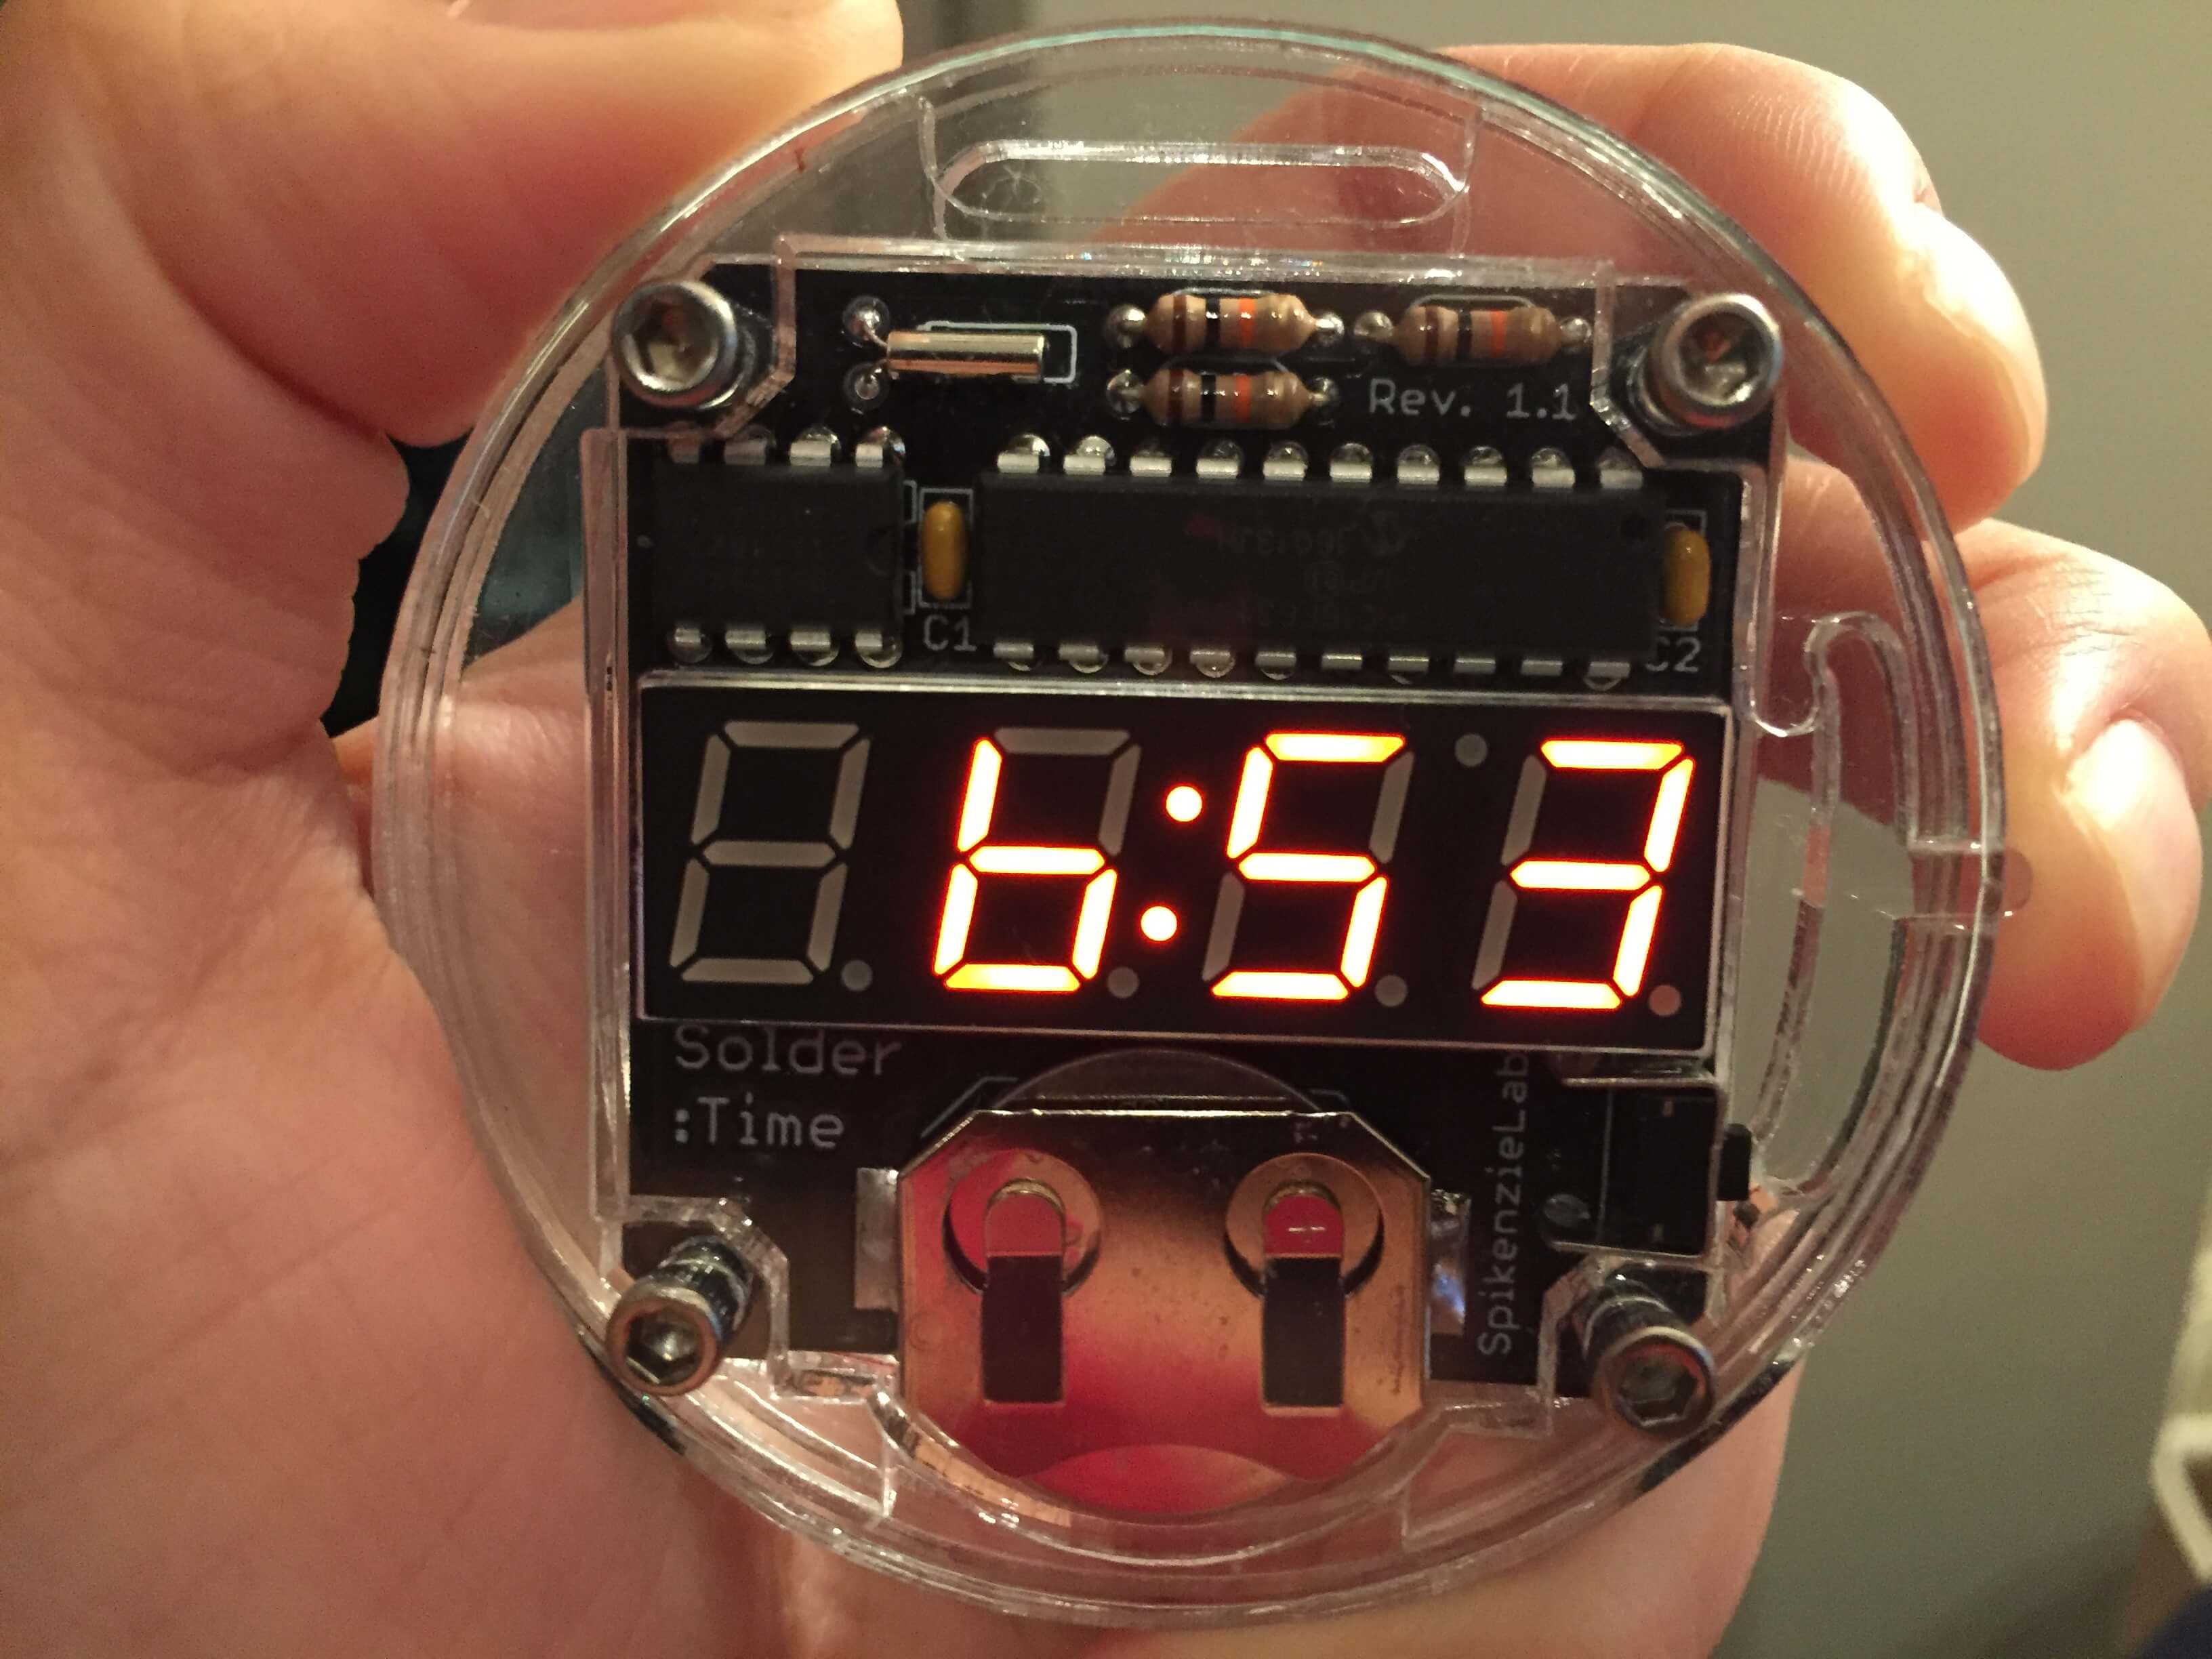
Building the whitefox
Now that I had sufficiently convinced myself that I knew how to solder, it was onto The WhiteFox. There is a much more detailed guide here that you should be following instead if you are also building this keyboard. But here’s a gist of the process in a few steps:
Pop in the switches
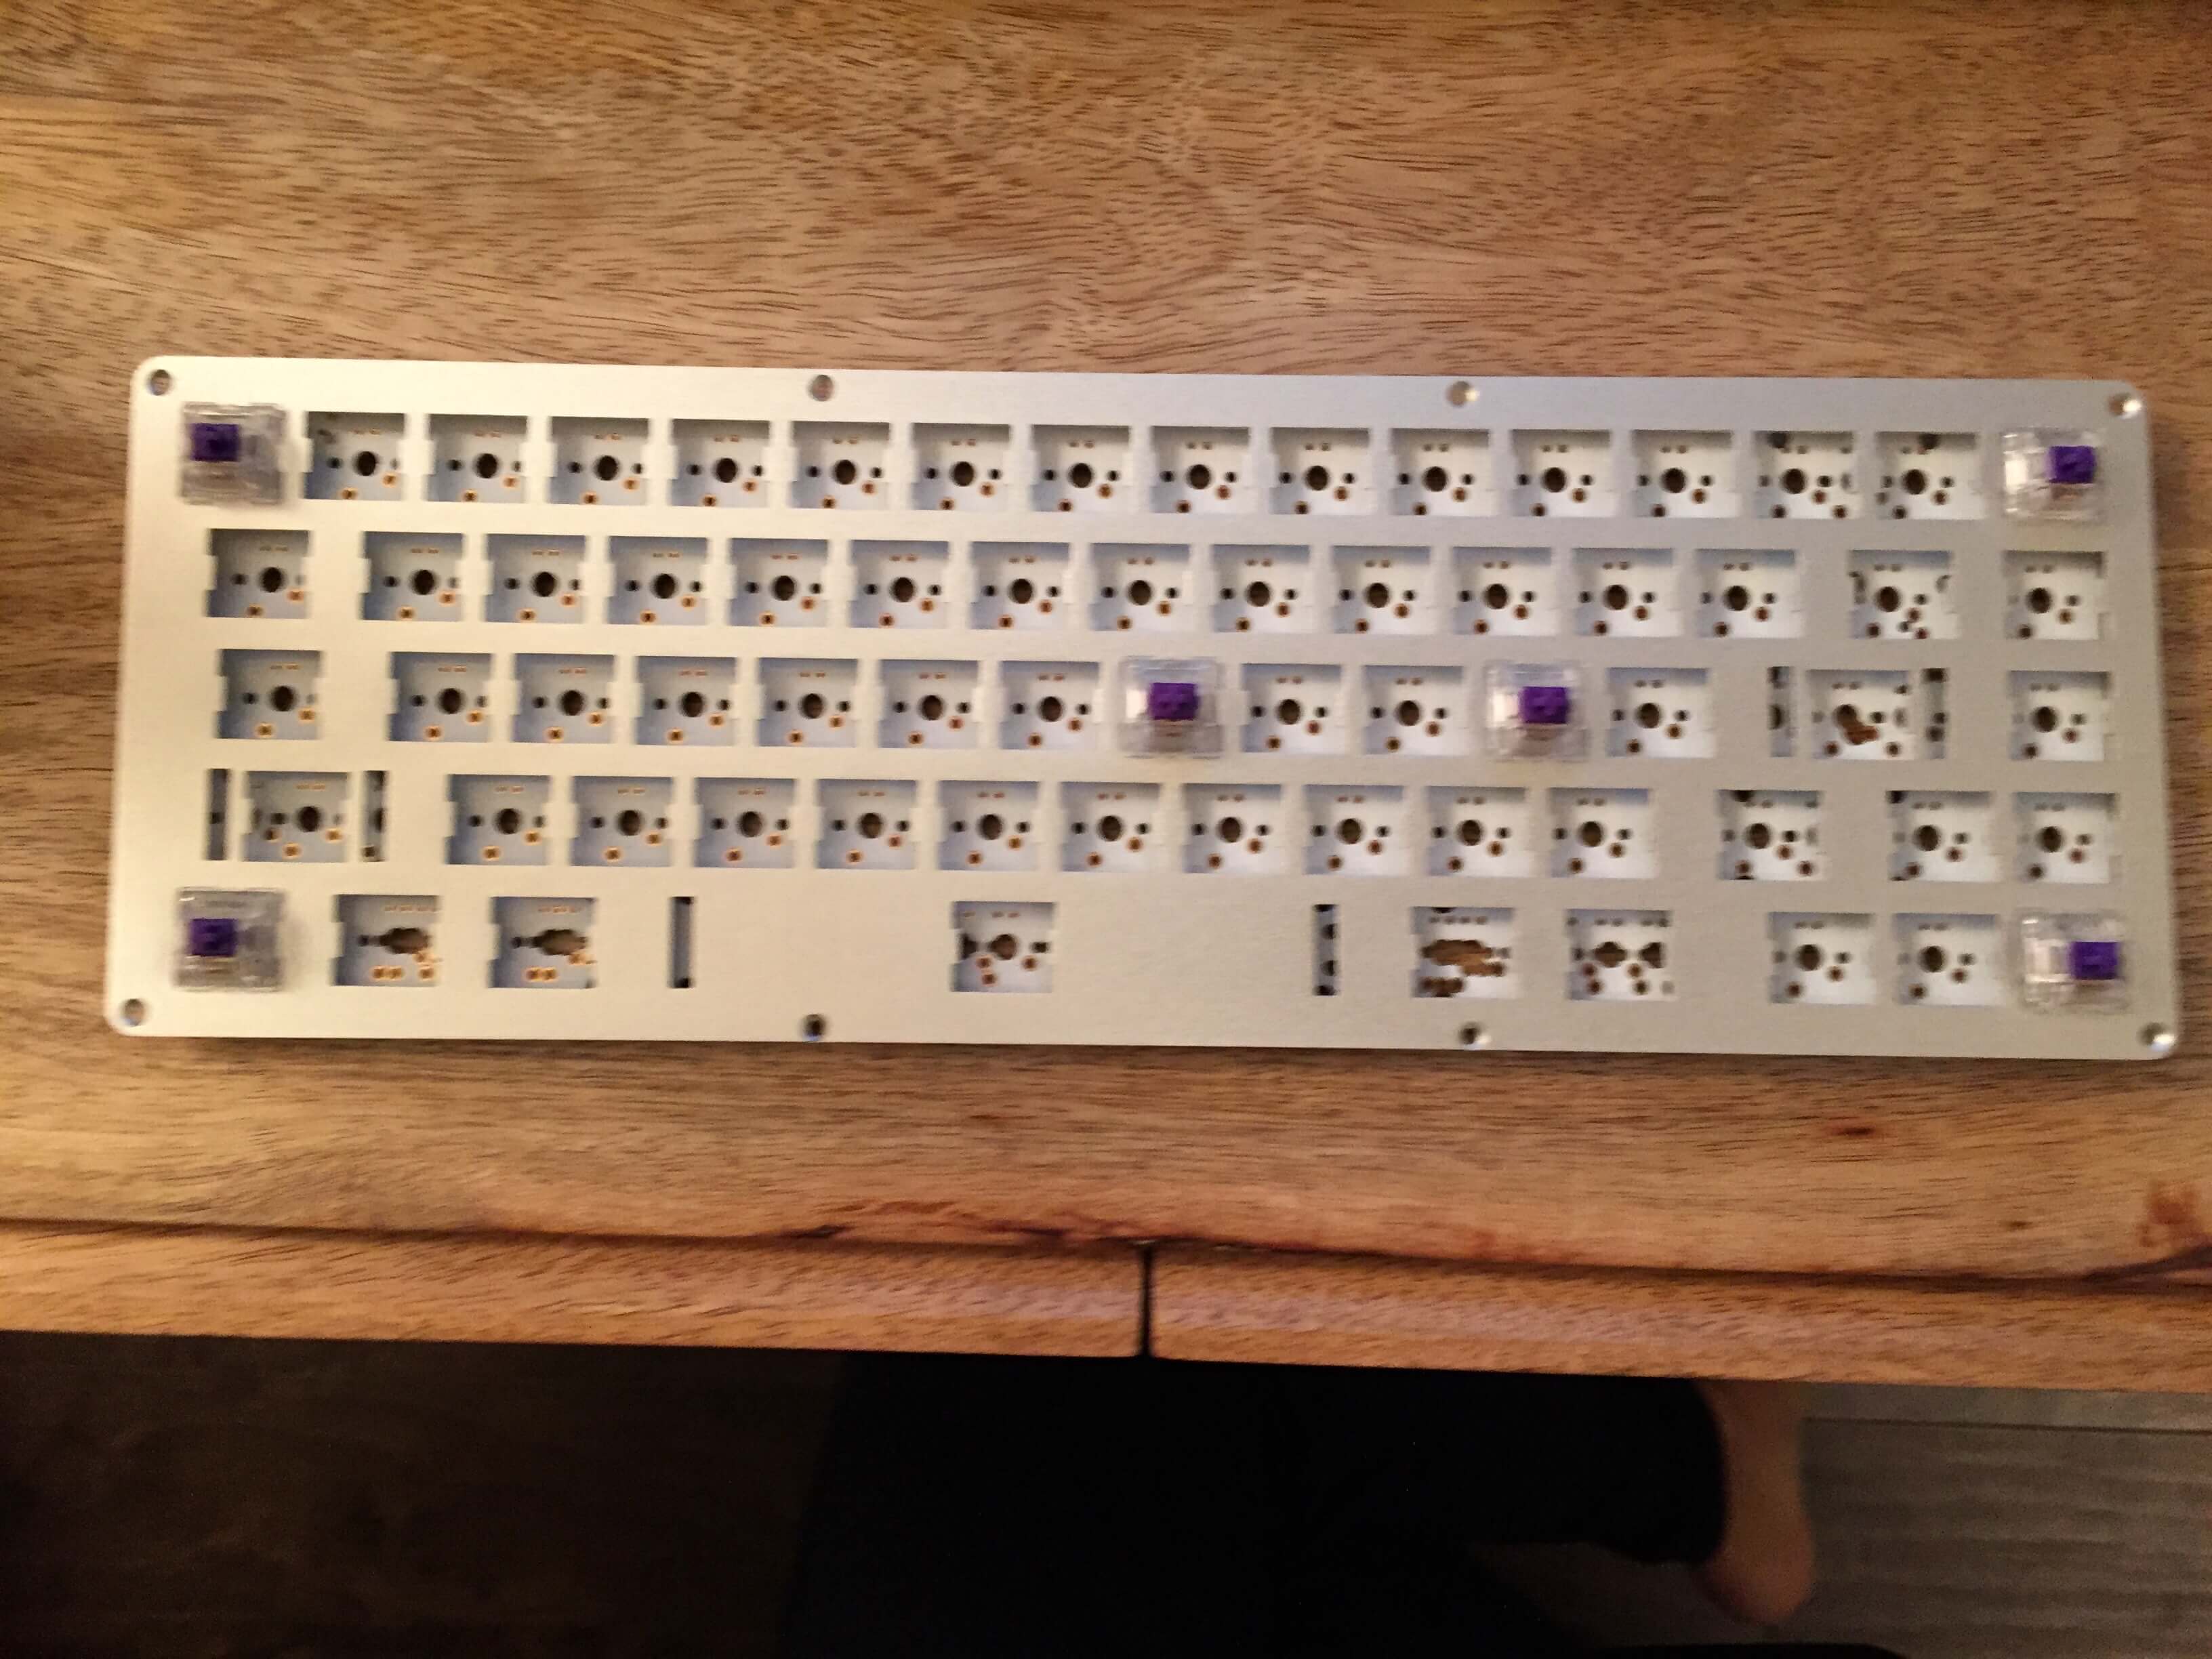 This was surprisngly the most time-consuming part of the process. What you want to be doing is aligning the PCB and the plate then popping in each switch so that the pins on each switch lines up perfecly on the PCB. Simple right? Unfortunately the type of switches I had had plastic stabilizer pins that were too thick for the holes in the PCB. The fix was to go through every switch and manually “squish” the the two pins down with a plier before popping them in.
Solder
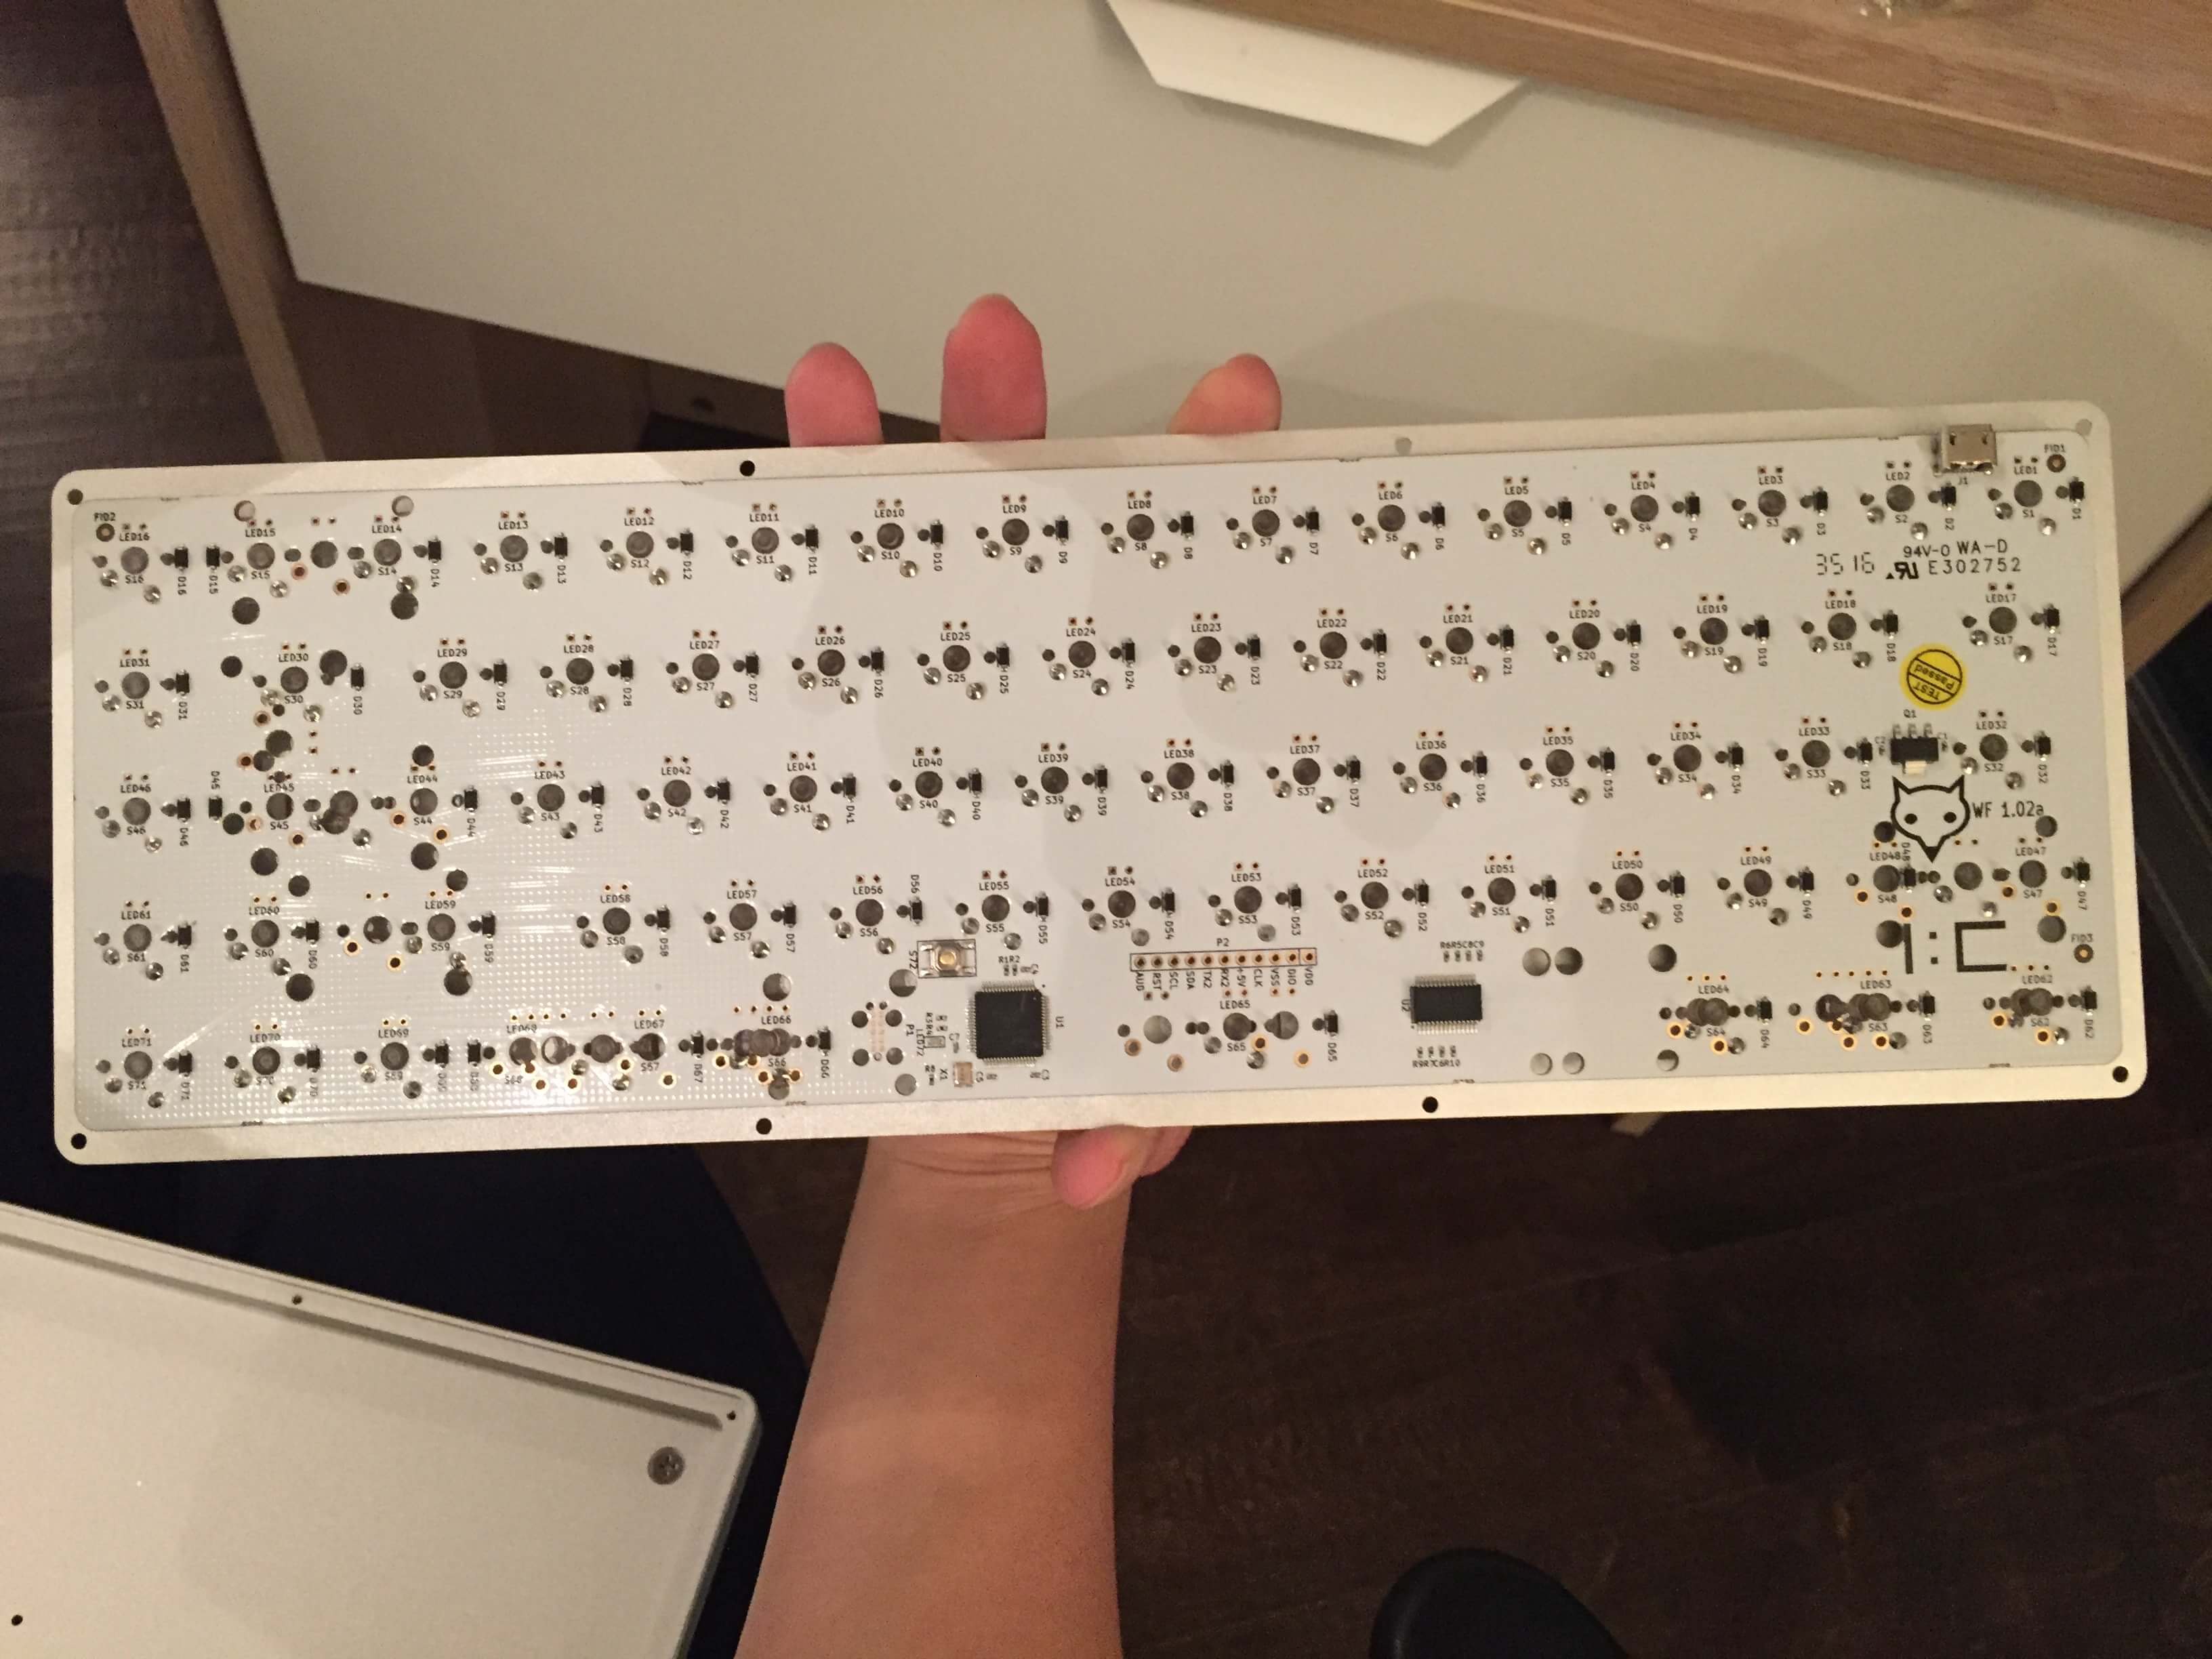 Once you had all the switches in, it was time to solder them all in. Now that I was soldering “pro” this part was actually done fairly quickly, and once you get into the groove of things it can be quite therapeutic.
Keycaps + Stabilizers + Case
 The easy part! Pop the keycaps onto your switches, insert the stabilizers onto the plate for your bigger keys and screw in the case. Once this is done, you should be able to plug in your keyboard and type a few things out in your favorite text editor.
Configure
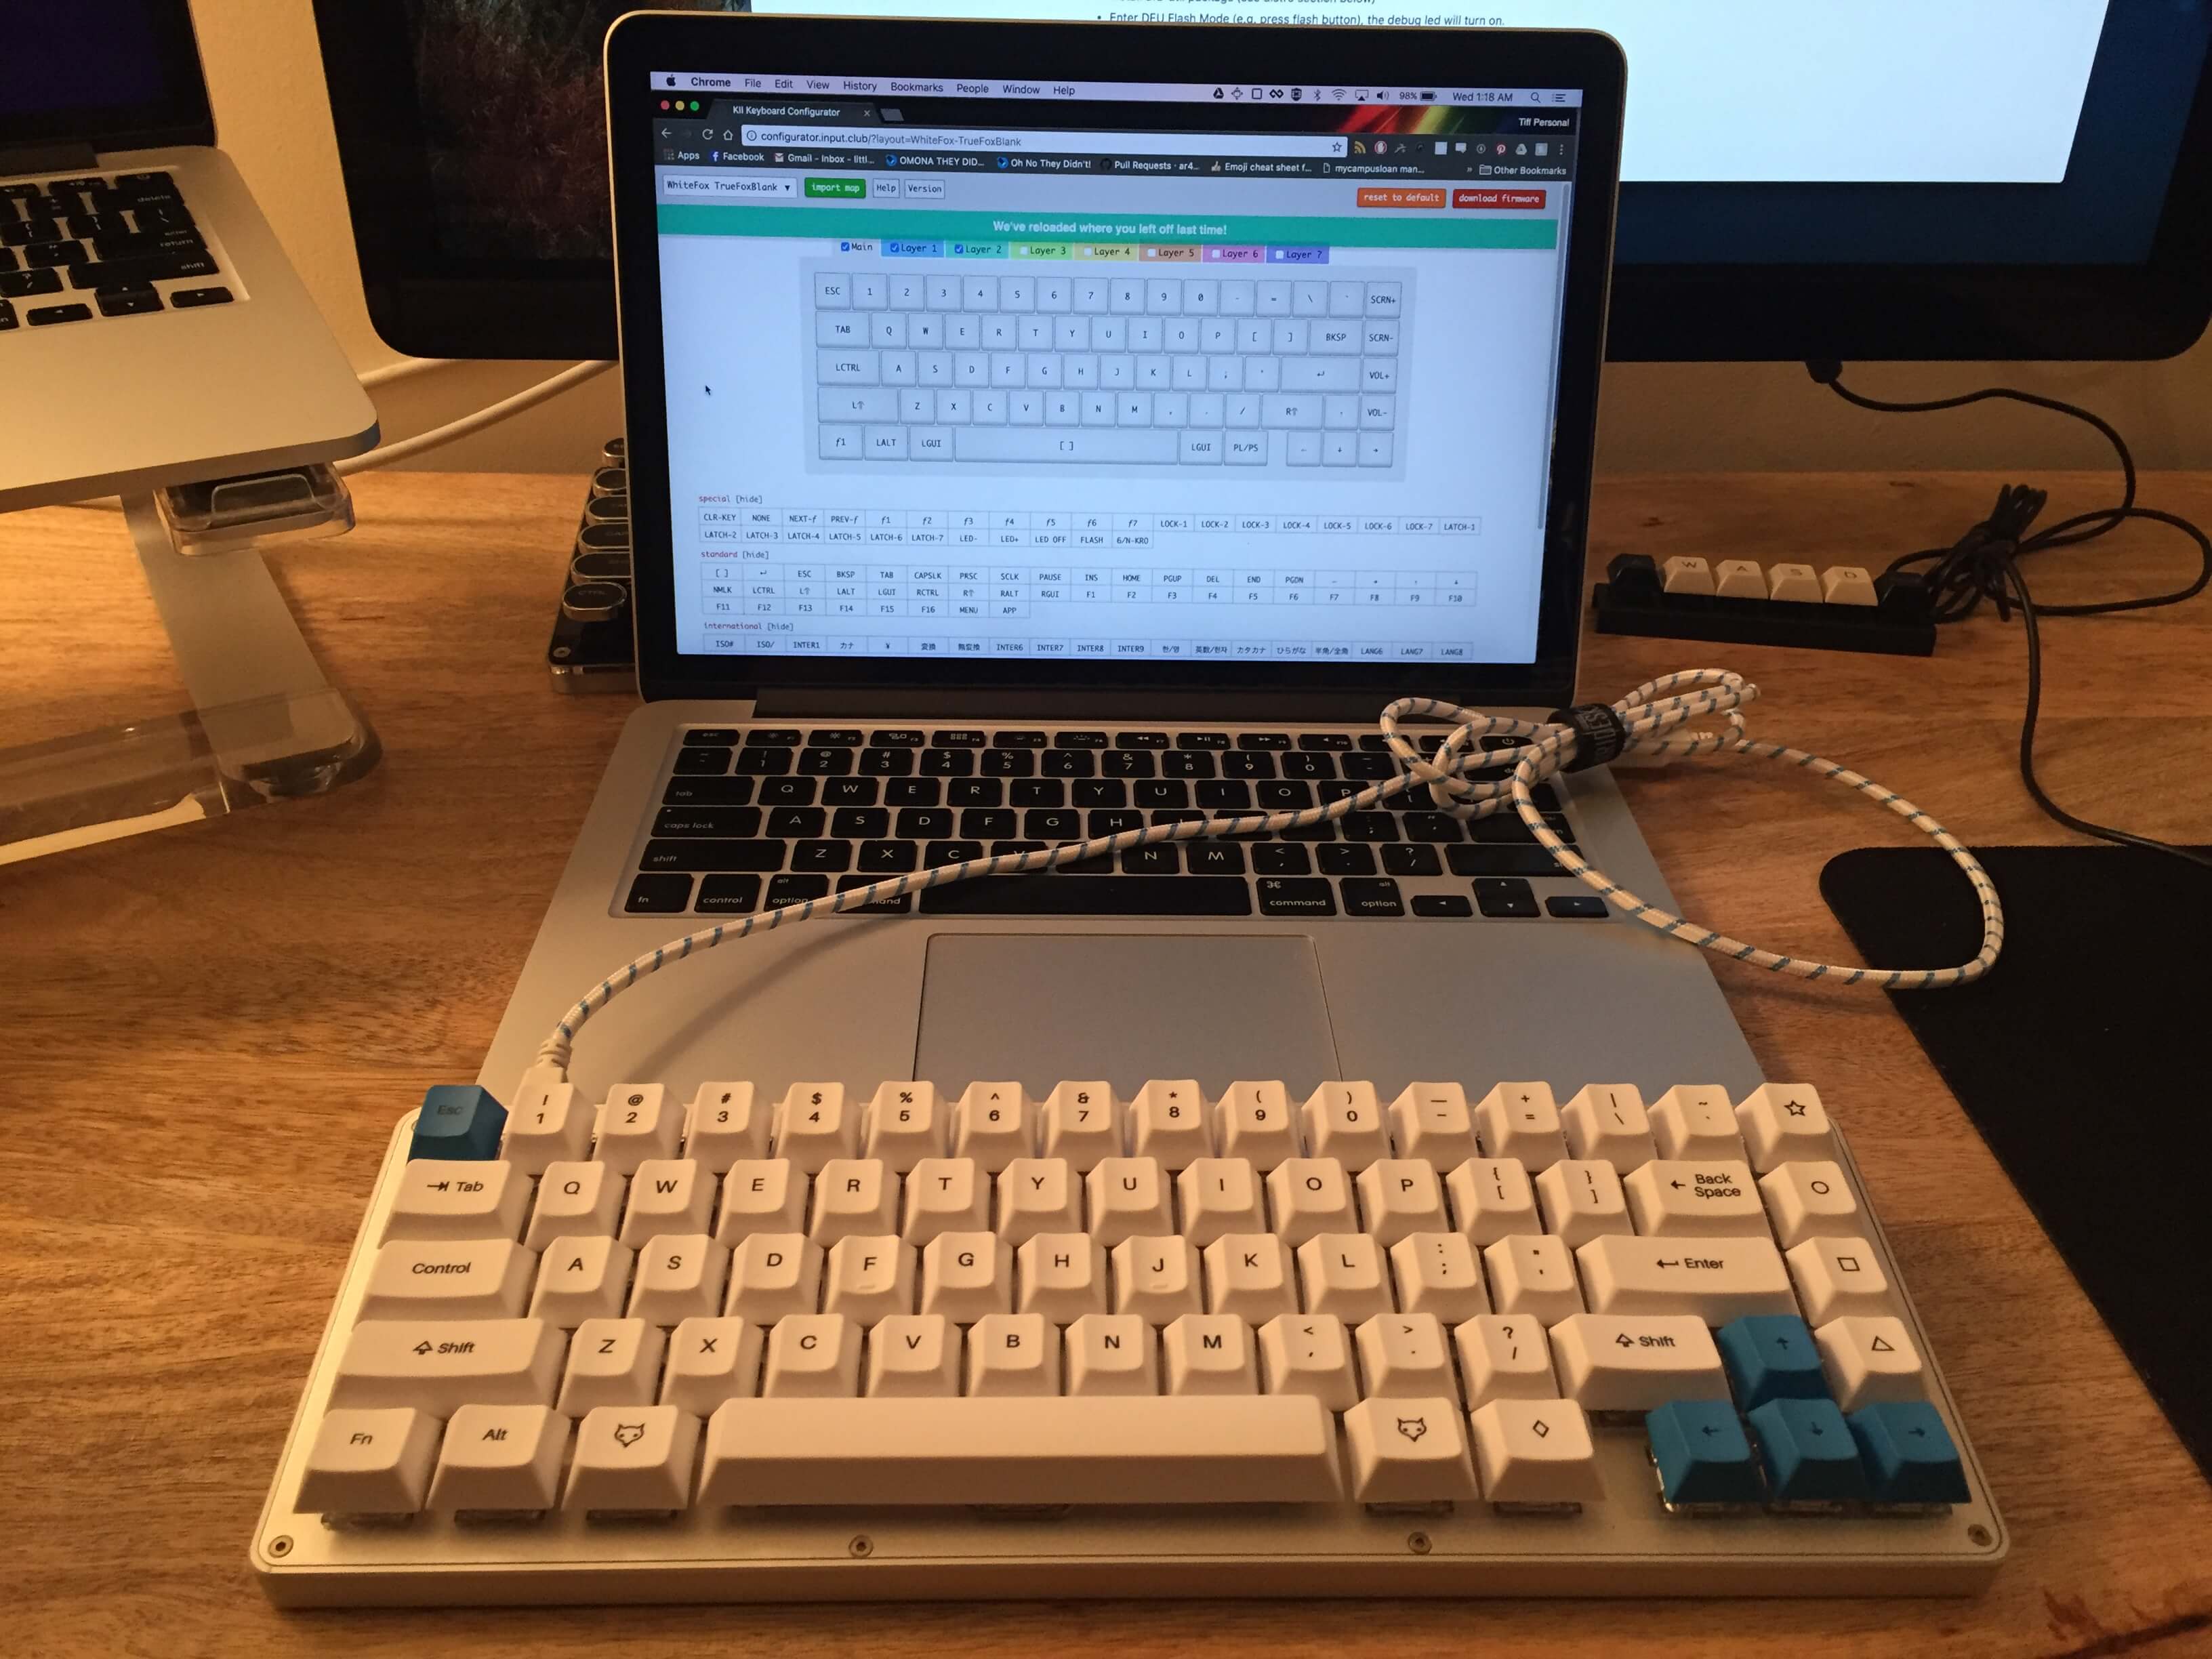 One of the best parts about having a custom keyboard is the re-programmable firmware. The WhiteFox has partnered with InputClub to create an easy-to-use online configurator that allows you set up your keyboard exactly as you want it (with up to seven function layers). Once you decide on a layout you love you can flash it onto your keyboard using Kiibohd firmware, which is open source.
Last thoughts
 Was it worth it? Absolutely. As a lover of mechanical keyboards, I love that I got the opportunity to set everything up and see up-close how each part interacts with each other. If you too have a passion for keyboards and have some money and some time, I highly recommend looking into some of the cool custom kits out there and taking the dive yourself. If you feel more like this about keyboards:
“Sorry what did you do? You made a keyboard? Can’t you buy one really cheap and ship it Amazon prime?”
Then you’re probably not going to be about this life.